
Hello!
Ask me any question about Lympik.
Please be as specific as possible so I can help you better.
Analyze OCULUS data without timing system
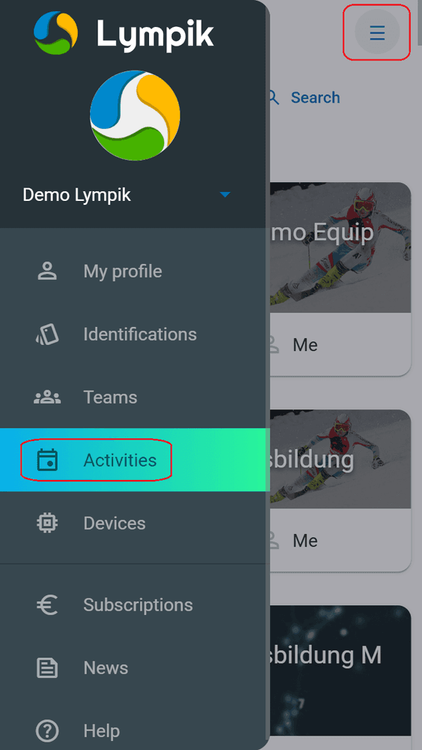
If you are using the Oculus tracker as a stand alone measuring device without the Lympik timing system, you need to create a Motion activity in the webapp app.lympik.com to see the results. In order to do so, please navigate to Activities and then click on "create new activity"
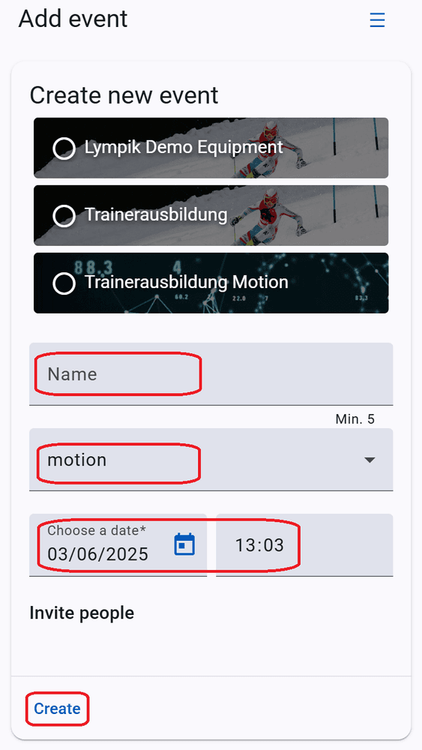
Enter a name for your activity, select the "Motion" module, set the date and time and click on Create.
Important: The evaluation only works if the start date and time have been selected correctly. The Oculus data must be recorded within six hours after the start of the activity in order for it to be displayed there automatically.
Add participant
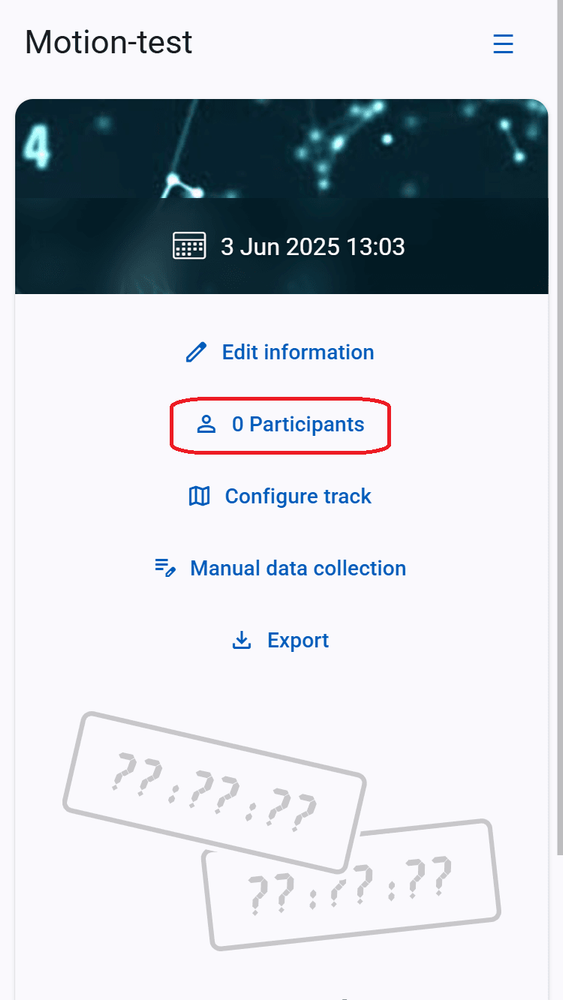
In order to display the athletes' results in your created activity, you first need to invite them as participants. To do this, click on "Participants" in the overview of your activity:
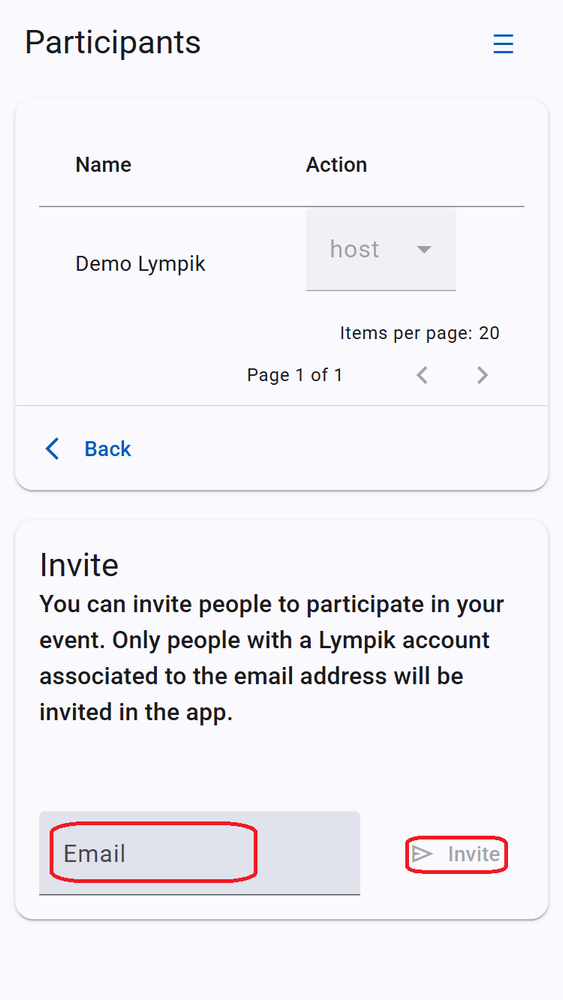
Enter the email addresses that your athletes used to create their Lympik profiles in the web app, then click 'Invite'. If you have already created teams they will be displayed here as well. By clicking on the team, you will invite all members automatically.
In order for the athlete's results to be displayed in your result overview, the athlete must confirm the invitation. To do this, the athlete must open their profile in the web app and confirm the corresponding event in the activity overview. However, it is also possible to create a team with the athlete. Once the athlete has joined the team (this must also be confirmed by the athlete in the web app), the invitations are automatically confirmed and you can process the data immediately.
Now click on 'Configure Track' in your activity overview to be taken to the following site:
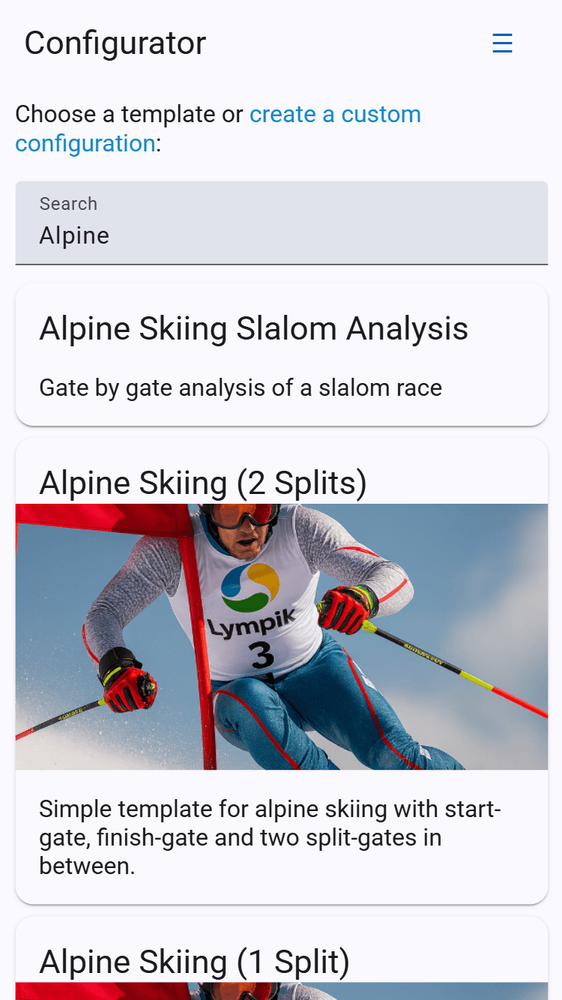
You can choose from a range of pre-created templates to display your results. You can also configure a custom-made track without using a template. However, we recommend using the pre-created templates.
After clicking on the desired template, you will be taken to the track configuration, where you can move the gates by clicking and holding the circle on the map. Alternatively, gates can be placed by entering coordinates — click on the gate at the top of this view where they are listed to do this. Here, you can also specify whether the gate can be triggered in one or both directions. You can change the trigger direction by clicking on 'Flip'. By default, triggering is only specified in one direction. You can check this on the map — the arrow next to your goal indicates the direction.
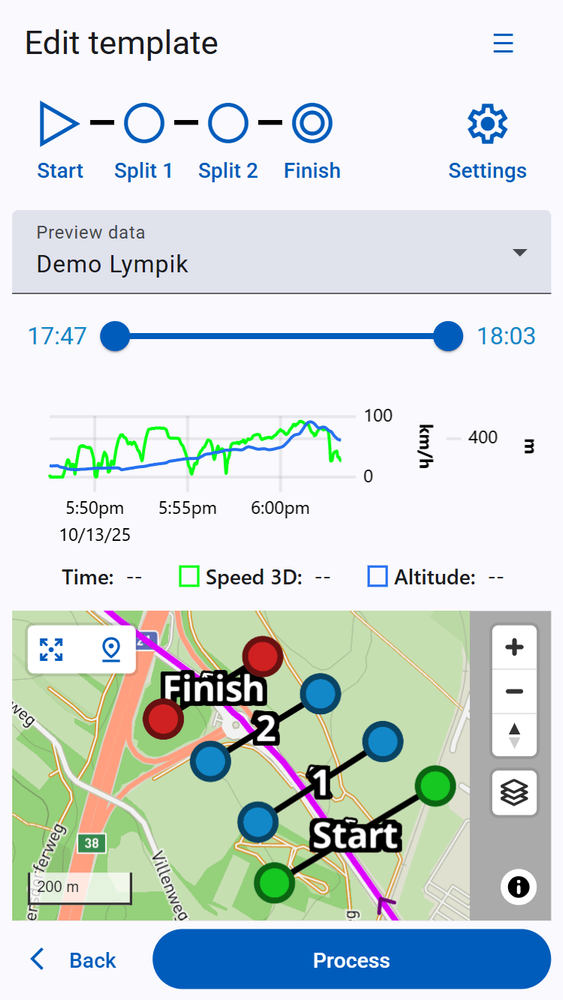
You can enter a reference time for each sector by clicking on the cogwheel between the gates. Once you are happy with the result, click on 'Process' to save your track configuration and return to the results overview of your activity.
Tip: You can make a recording of the desired route with your Oculus device — this will be displayed in the map view after uploading and can help you place your gates.
If you are done with the track configuration, click on process and you will be led to the activity overview, where you can see the results. For another analysis method you can now go to the previous lesson.